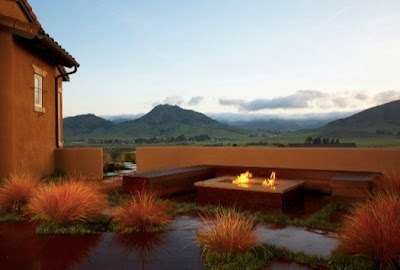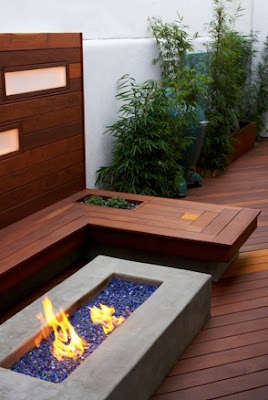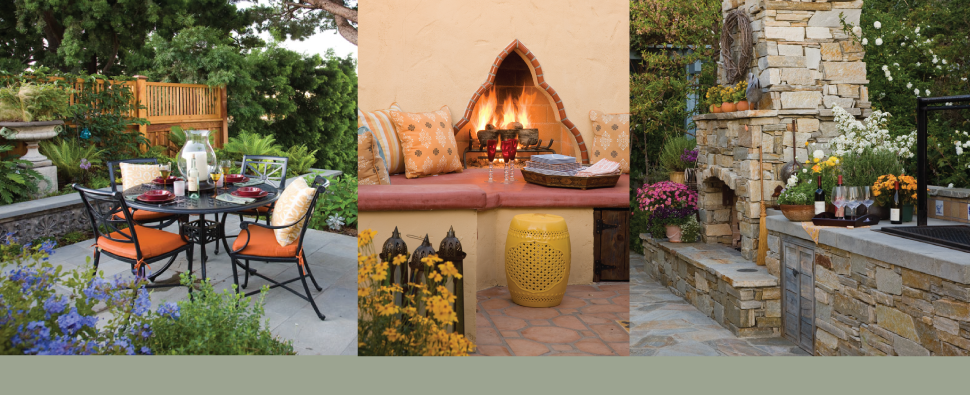
 More than any other topic on my blog, the ones that get the most consistent hits from a Google search are the ones with examples of good looking fire pits. Here is one past article on fire pits, and here is another. I’m going to take that to mean that you guys, like me, are fed up with the horribly ugly fire pits that you see out there, and that you are desperately hoping that there is something better…. and there is!
I recently got lost on the website of Jeffrey Gordon Smith Landscape Architecture. And I don’t mean lost like I couldn’t find my way, I mean lost like I was too busy stumbling across beautiful things to bother trying to find my way back out again. JGSLA is a small firm out of Los Osas, Ca that seems to share my love of the poured in place concrete fire pit. So I want to share with you some eye candy from their website and a few thoughts on fire pit design, some practical, some not so practical.
On the practical side of things, a few things to think about:
- leg room. If you are building seating around your fire pit, make sure to think about leg room. People love to put their feet up on the edge of the fire pit, but they also hate to bash their knees against the edge, so the distance between the fire pit and the bench is a narrow window. To get it just right for you, measure yourself! And remember, there is a big difference between the length of women’s legs and men’s legs, so measure the tallies in your household and the shorties, too. 28″ is a good starting point to work from.
- colored concrete can discolor at high temperatures, so don’t put your gas line too close to the edge of the concrete. The discoloration may not be black- it is caused by a chemical change in the pigments in the concrete so it could be bright pink (yep, speaking from experience here)
- I know that magazines show fire pits that have beach cobble in them and it looks really cool, but trust me when I say that is just staged for the photo shoot and you don’t want to do it. Why not? Because real rocks have tiny air pockets trapped inside them and at high temperatures they expand…. and explode. In a rapid-fire, machine gun kind of way. Really dangerous. Please don’t do it. The safe things to use for the inside of your fire pit are: silica sand, tempered glass, lava rock, or crushed hire fired terra cotta tiles.
- Even if you are going with glass, consider a base of small crushed lava rock underneath it. It is way less expensive, and helps to diffuse the gas with all the air pockets in the lava, so you get a more natural soft flame.
 On the less practical but equally important aesthetics side of things:
- If you are using tempered glass and you are tempted to create your own blend of colors, don’t blend colors that are drastically different from each other (ie blue and bronze). It looks terrible. Stick to colors that are very similar to each other (ie blue and light blue) or a solid color. Consider using a color that you are already using as an accent in your yard, say in the cushions on your furniture, or notice how the last photo matches the fire glass color to the foliage of a succulent (an Echeveria I think) that is nearby. Nice, huh?
I could go on and on about Jeffrey’s work, but instead, I think I’ll just let you get lost in it for a little while. Enjoy!
© Kate Wiseman 2010.
Wiseman, the Principal, has been a San Diego landscape designer
for the past ten years. Find out more at www.sageoutdoordesigns.com


